Friday, April 20, 2018

Portrait Scaling Two


Sometimes, for me, likeness is the central most important goal in painting a portrait; it is a measure of one's skill and opens the way to better work.  But occasionally, as in the above piece, the likeness falls short and then is abandoned because I stumble onto something else that seems interesting and I don't want to lose it by badgering the painting toward a better likeness.  I was working again on Puccini and was listening to one of his operas as I painted, and it may have been the power and emotion that came through the music or I may have followed what I thought might be an ideal of male beauty, but this face is not exactly Puccini, though it might be a man with his music in him.

At any rate, it was a piece of the puzzle in trying to find a way to a better painting of the man.  In the last post, I mentioned a few of the ways painters work toward laying out the features of the face, and I failed to mention very many of them, though I'm sure I'm not even aware of all of the possibilities.  Perhaps the most common one is the drawing of the oval shape and the line down the center with horizontal lines drawn to mark the location of the top of head, chin, eyes, nose and mouth.  This is an easy way to get a start, but it is based on the notion that everyone shares the same structure, and one needs to make alterations to the norm based on the individual being painted.  It is very useful in sketching quickly and in locating the features when the head is tipped one way or the other, turned to the side, etc.

Another method is to paint in a large shape representing the head, then dark blotches for the eye sockets, then carve at it with other features, closing in on the location of the various bits by feel.  Other artists start with an eye, then locate the other eye, then the nose, etc. based on what they have painted so far, and I find this one of the most difficult for me, leading to gross distortions.  In fact, I tend to use a variety of approaches, sometimes one or the other, sometimes several in concert, and I think the important thing is just to continue the effort, the practice, because the body does learn something along the way and accuracy seems to be a result of continued effort.


When I am struggling to understand a face, I often turn to pencil or charcoal, too, since anything that leads to an understanding of the structure is helpful.  And when a likeness is off, it is frequently the basic structure that is not quite right, something that is very frustrating when one has spent a lot of time nagging at the details.

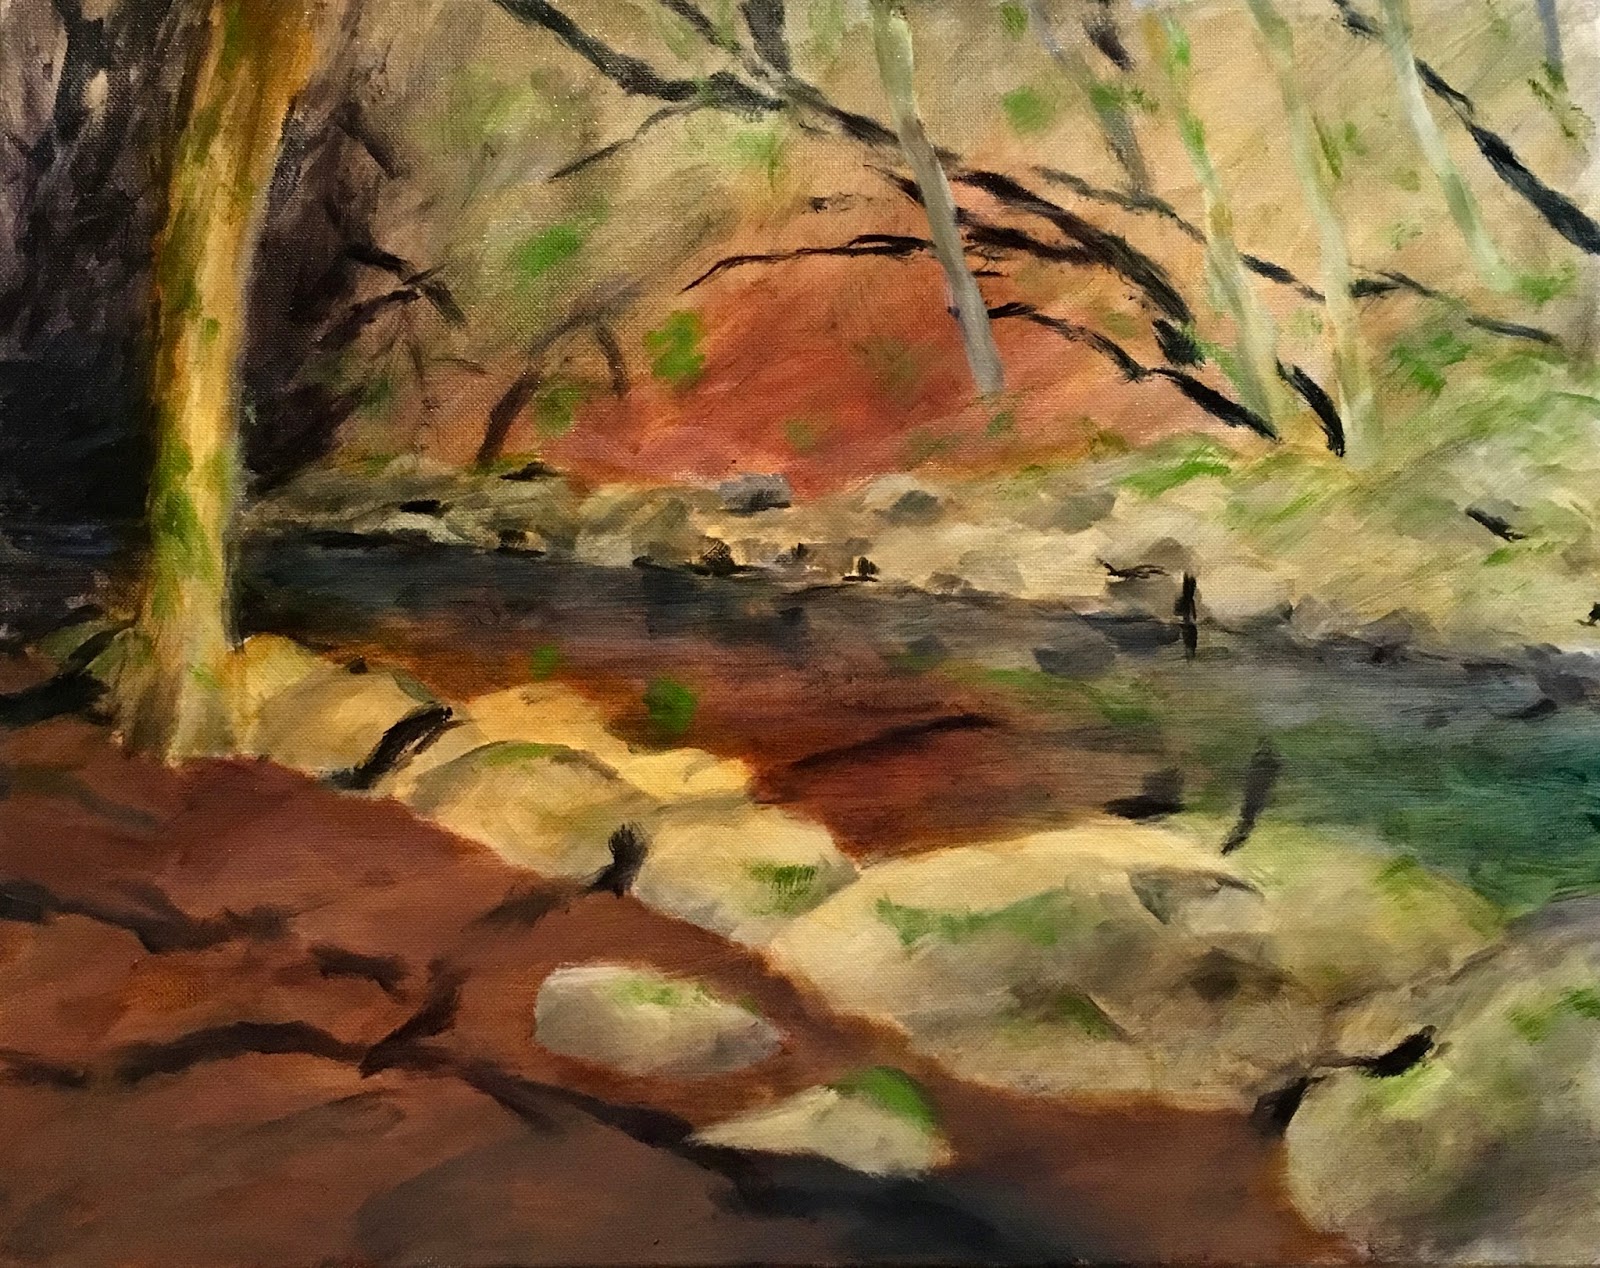
With the return of the sun, finally, I have been able to make it outdoors to work on plein air skills and watch the birds and the changing light.  The lake is full again and the boats are buzzing by.  Yesterday I was down on the deck at the boathouse painting when some friends stopped by in their boat; it felt very civilized to mix the two things.


It's tricky to paint water when the light keeps changing so rapidly.  The breeze shifts and suddenly what was dark green is now light blue, or the transparent deep water is suddenly an opaque surface.


Sunday, April 15, 2018

Scaling Up A Photo


Puccini 16x20 oil

In painting portraits, one of the biggest challenges is achieving accurate measurements, because without precision, it is extremely difficult to arrive at a reasonable likeness.  There are myriad ways to measure when painting, with perhaps the most classic being to hold a paintbrush with thumb on handle and stretch your arm out toward the subject, measuring a distance - say, the width of a head - and then translating that distance to the canvas.  I have struggled with this method because it is hard to hold one's arm out at exactly the same distance each time and translate it to the canvas in exactly the same way, and so it involves much trial and error and I am often not happy with the result.  

When working from a photo reference, many painters will sketch out a grid over the photo and then sketch the same grid over their canvas, only on a larger scale, thus scaling up the photo.  But this method involves laboriously copying the marks and lines in each square, and for me, it doesn't feel much like drawing naturally.  Also, it requires that you print out the photo or else create a transparent sheet with a grid on it that you can tape to the front of your computer screen.  Since all the photos I work with these days are digital and I almost never print something out, this approach just feels too cumbersome.

There are specialty dividers one can buy or make, so that you measure the distance on the subject and the dividers automatically make the other end of the device some increment larger, but I have to admit I have never tried this method.  I might one day make up a set of these dividers in the shop, but they seem unnecessary when I have my go-to method already available.

In painting portraits from photo reference, I almost always rely on an engineer's scale - that triangular ruler that you can find in an office supply store.  It has six scales -10 through 60, and I used it in the past to draw plat maps for building projects.  A building lot is usually too large to use an architect's scale - those with 1/8"/foot, 1/4"/foot, etc.  and the engineers scale allows each inch to represent 10 feet, or thirty feet, or sixty feet, meaning you can get a big plot of land on a small piece of paper.

But for scaling up a photo, I find it is just as useful.  The first step is to crop the photo to make sure that the aspect is the same as your canvas.  For example, if you are using an 8x10 board, make sure the photo is cropped to an 8x10.  Then you need to find which scale comes closest when you measure it on the computer screen.  Most photo software will allow you to enlarge the image in small increments, and I typically begin by holding the engineer's scale against the image and enlarge it until the width matches the width of my canvas.  Once I get it to the right size, I can begin to transpose those measurements I want.  For a portrait, I usually want to find the placement of the major features of the face, so, for example, I put the zero mark of the scale at the bottom of the chin and make note of where the scale hits the top of the image.  I then transpose this measurement to the canvas.  For a portrait, the most important measurements for me are the chin, the top of the head, the mouth, bottom of the nose and center of the eyes.

Working from one side of the image, I measure for the sides of the head, the center of the nose, the width of the mouth and the side of each eye.  If you want to find the exact placement for any particular point, you can measure from the top and from the side and make a mark for that point on your canvas.  

In this case, I was using the 30 scale, meaning that when I transferred the marks to my canvas I was increasing the measurement by three times, since I switched to the 10 scale for marking the canvas.  (I try to use a red pencil for drawing because it doesn't dirty up the paint like a graphite pencil will.). Once I have located my major points of reference, I can sketch in the entire head, and then if something seems off, I can double check it with the scale to see where I am wrong.


I find that locating only the critical points helps me to quickly avoid gross errors and yet allows me to sketch more naturally for the majority of the face.  Often I will skip the measurements entirely and just sketch first, only checking with the scale if something seems off.  I feel that having done this repeatedly over time has strengthened my ability to sketch accurately without measuring, but it is not something that happened overnight.  Miles and miles of brushwork....


Once I have the basic sketch, I can begin painting without the fear that I will have to go back and try to move features around once the paint is down.  A quick block-in covers the canvas.


For this painting I used a limited palette of cadmium red light, gold ochre, ivory black and white.  I used Neo megilp instead of Liquin as a medium in order to leave the paint open to blending for a longer period, but now I want to wait for it to dry so I can go back to it and make corrections, since inevitably, the likeness is still off.

A final note:  if anyone decides to get an engineer's scale and try this for themselves, I should add that sometimes it is hard to find a scale that works for your canvas, and one trick I have found is that you may need to scale from 50, say, to 20 instead of 10.  That allows you to increase the measurement 2 1/2 times rather than just two or three or four.  You might need to scale from 30 to 20, or 60 to 50, or whatever works.


Friday, April 13, 2018

April Showers Bring May Showers


The Canal 8x10

The wait for sunny spring weather seems to go on forever, with rain every day, it seems, and I am ready to venture out for some painting outdoors, but the wait goes on.  Little sketches in the studio are one way to warm up, prepare for the outdoors, and I try to work quickly and loosely like I will be outdoors, and while it may not produce anything for the wall, it adds to the miles of brushwork.


Puccini 5x7


Thursday, April 5, 2018

Puccini

Puccini oil 7x11

It's been tough to try to get back in the habit of painting daily, impossible due to other work, really, and what little I have been able to accomplish has been mixed in with workouts and other menial tasks, not allowing for a big chunk of focus.  Above is one of those sketches done with a limited pallet of cadmium red light, raw Sienna, ivory black and flake white.  I find that the flake white replacement I use now in portraits lends itself to better blending and doesn't cool the paint down as much as Titanium white does.  But the raw sienna isn't as satisying for skin colors as is yellow ochre or gold ochre, so I will probably not use it much again.

I've been less satisfied with recent landscape sketches, and I really believe they will require more time and focus than I have been able to give them.